DIY Tips & Tricks: How to Cut Formica® Laminate
Get expert advice on how to work with Formica® Laminate to achieve your project goals.
Homeowners and DIYers love Formica Group’s broad range of laminate colors and surface styles. Formica® Laminate is also durable, easy to clean, cost effective, and most of all, easy to install. Proper laminate installation requires you to use the right tools and techniques to cut the material to avoid cracking, breaking or chipping. Here’s what you need to know.
Using the Right Techniques and Tools to Cut and Install Your Formica® Laminate Sheets
Step 1. Measure twice, cut once
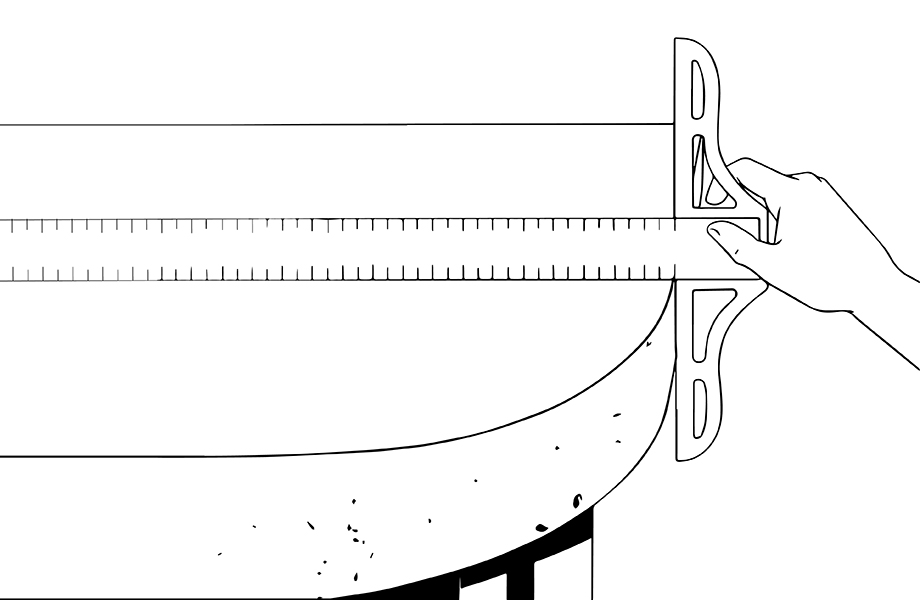
The first thing you need to do before buying your Formica® High Pressure Laminate (HPL) sheets is to measure your installation surface with a tape measure. By doing this, you’ll know what sheet size you need and how many of them to buy.
Step 2. The right worktop
Place the first laminate sheet on a worktop with the décor side facing down. The surface of your worktop should be suitable for using a saw. Plywood is a good choice. Cement is not a good surface for cutting a Formica® Laminate sheet.
Use a Sharpie® ultra-fine point marker and drywall square or ruler to trace the shape you plan to cut. We recommend starting from a corner to reduce the amount of cutting.
To make cutting your laminate sheets more manageable, you can stick masking tape along the face side of the cut and let the tape stick out along the sides of the Formica® Laminate sheet where the saw starts to cut. This will reduce the chance of error and chipping.
Step 3. The circular saw
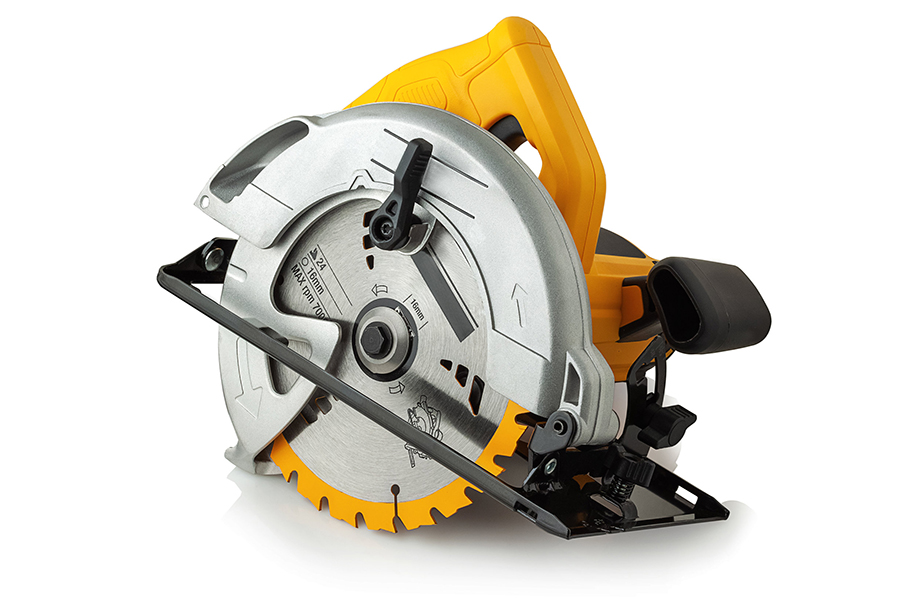
You will undoubtedly find several people online to tell you that Formica® Laminate sheets can be cut with almost any tool, including a utility knife or a hand saw. But trust our experience: a circular saw is the tool that will give you the best results and cause the fewest problems.
Saw blades typically used for cutting double-sided composite panels can be used for cutting Formica® Laminate sheets. We recommend a lower-than-average feed rate for thicker sheets to avoid chipping and excessive wear on your tools.
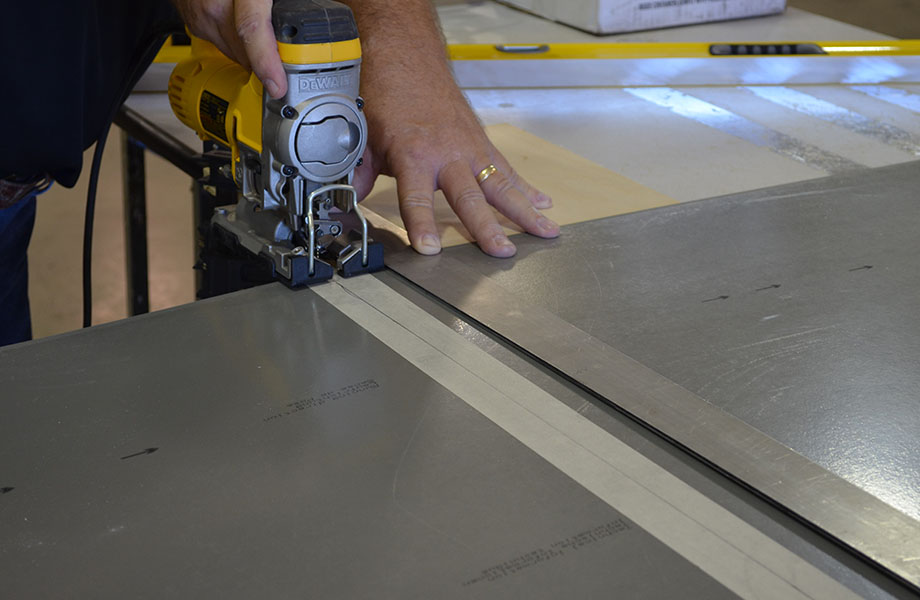
Electric saws cut in a movement that goes from under the saw to the top. We therefore recommend cutting with the face side down to avoid chipping the laminate. If you are installing your sheet as a countertop or on top of other furniture, leave the curves and corners out. You only want to cut out the shape and leave the trimming for later.
Step 4. The laminate installation and routing
Take your Formica® Laminate sheet and install it using glue or another adhesive.
For laminate countertops and furniture: once your Formica® Laminate sheet is installed, use a trim router with a flush trim bit to finish the corners and curves. The bit will ride against the edge of the top. This should be done with your sheet facing up and very slowly to avoid chipping and damage to the top.
Step 5. Sanding
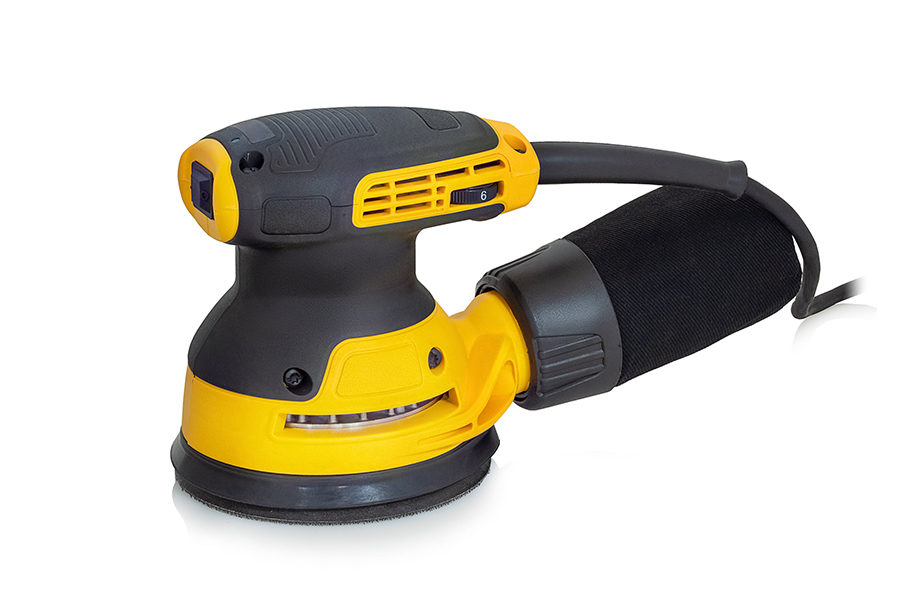
Using a hard and flat sanding block (with 320 grit sandpaper) or a fine mill file, smooth the edges and clean off burs.
How to Bend Your Formica® Laminate Sheet Without Heat
Step 1. Check the radius of the curve before bending
If you want to bend your Formica® Laminate sheet without heat, you must make sure the curve is wide enough. Any curve less than 23 cm or 9 inches in radius will likely crack.
Step 2. Cleaning and smoothing
Smooth out and clean the surface of the curve to remove any nails, screws, imperfections and more. The vertical edge of the surface must be perfectly square with the top to avoid gaps, bubbles and distortion.
You can also sand the back of the Formica® Laminate sheet to make it more flexible. However, you need to use very fine sandpaper and go slowly, as you only need to remove a thin layer.
Step 3. Installation
Apply adhesive to the Formica® Laminate sheet and the substrate. Let the adhesive flash for a few minutes following the manufacturer's instructions. Begin installing your sheets on the straight surface, not on the curve itself. Be careful — you won’t be able to reposition the sheet once it’s applied.
Once the first straight part is installed, you can use a tool like a J-roller to roll the sheet over the curve gently. (J-rollers are the best for this job. If you don’t have one on hand, think of buying one before starting your project.)
Roll over the surface many times to remove any bubbles and gaps.
Step 4. Trimming
Please read the manufacturer’s instructions to know how long it will take for the glue to set. You can also use clamps to hold the sheet in place as the glue dries. Once the glue is dry, trim any excess portion and sand the edges gently to smooth them.
There you go. You can now use and enjoy your new Formica® Laminate surface!
FAQs on How to Install and Bend Laminate Sheets
Can I bend Formica® Laminate sheets?
Yes! It is important to note that most bending (often called wrapping or postforming) is done professionally by fabricators or postformers. However, with the right tools and a bit of patience, you can learn how to bend your Formica® Laminate sheet without heat.
Can I cut Formica® Laminate using a utility knife?
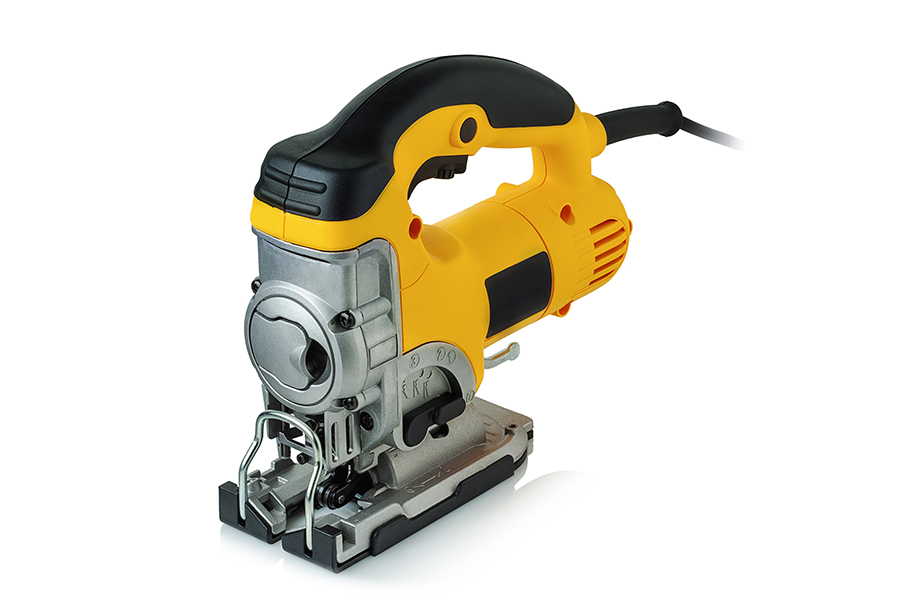
You should not use a utility knife to cut your Formica® Laminate sheet. We find that a circular saw and a jigsaw for fine-tuning do a much better job. In any case, make sure to follow the instructions and any safety protocol to avoid chipping your sheet or hurting yourself.
What tools will I need to install and cut my Formica® Laminate sheet?
Here is a list of the items you will want to buy before you start installing your laminate sheet:
• Worktop (one that can sustain sawing)
• Measuring tape
• Sharpie® ultra-fine point marker
• Drywall square
• Masking tape
• Circular saw
• Glue or adhesive (see the manufacturer’s instructions)
• Sandpaper with a flat sanding block or flat metal file
• Protective equipment: safety glasses or goggles, hearing protection (if needed), dust mask, and something to keep your hair out of the way
• Acetone will remove excess adhesive and Sharpie® marks from the surface of the laminate.
What tools will I need to bend my Formica® Laminate sheet without heat?
Here is a list of the items you will want to buy before you start installing your Formica® Laminate sheet:
• Worktable
• Measure tape
• Sharpie® ultra-fine point marker
• Ruler
• Sandpaper and flat sanding block
• Glue or adhesive (see the manufacturer’s instructions)
• J-roller (for bending without heat)
• Clamps (optional)
• Protective equipment: safety glasses or goggles, hearing protection (if needed), dust mask, and something to keep your hair out of the way
What can Formica® Laminate be used for?
Formica® High Pressure Laminate is an excellent choice for kitchen and bathroom countertops. It’s affordable, durable, easy to clean, and comes in many different styles and colors. It can also be used for wall panels to create unique interior designs and memorable home spaces.
Additionally, you can use Formica® Laminate to build a worktop, an office desk, a play table for your kids, or even to cover items such as a shelf, bench, bookcase or chair. As an affordable and easy-to-maintain product, Formica® Laminate is ideal for many of your DIY projects around the house.
Sharpie is a trademark of Sanford, LP and is registered in the United States and other countries.
Category
Related Articles


